Results for “egs”
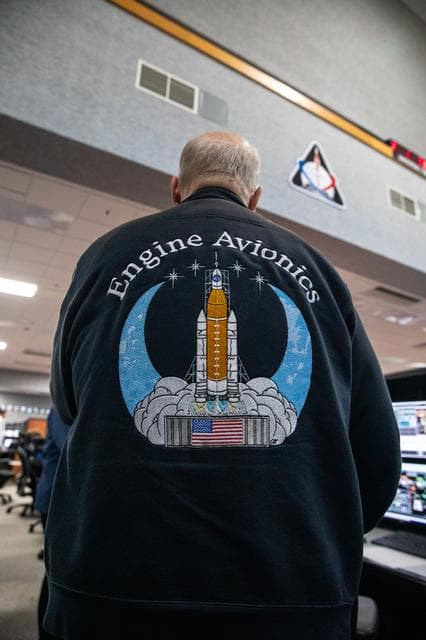
Artemis II Joint Cryogenic and Terminal Count Launch Simulation
NASA/Ben Smegelsky · 853×1280

EGS Artist Photos - Vehicle Assembly Building
NASA/Glenn Benson · 853×1280

Artemis I Launch Control Center Activities
NASA/Kim Shiflett · 853×1280
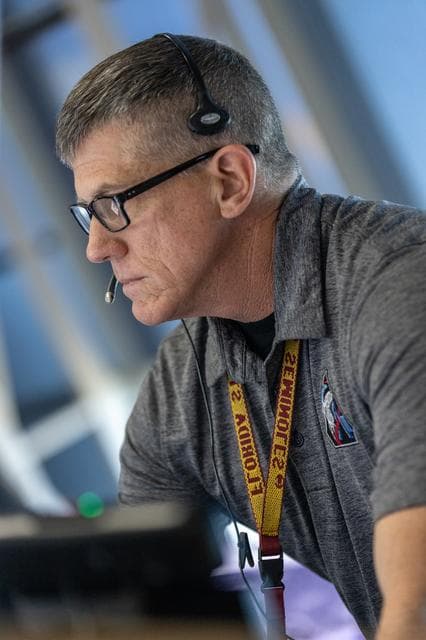
Artemis II Joint Cryogenic and Terminal Count Launch Simulation
NASA/Ben Smegelsky · 853×1280

Launch Team Firing Room I Simulation for Artemis I
NASA/Kim Shiflett · 1280×853
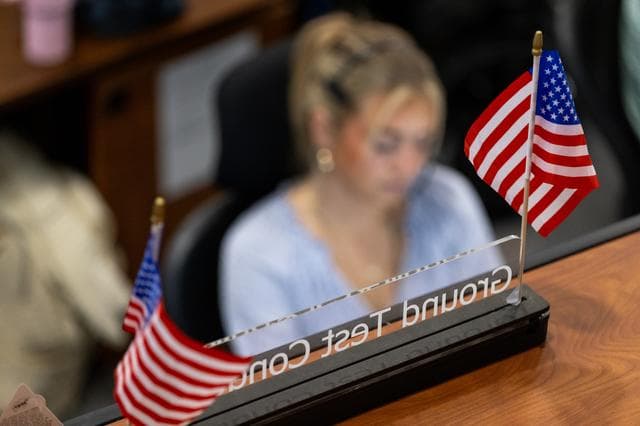
Artemis II Joint Cryogenic and Terminal Count Launch Simulation
NASA/Ben Smegelsky · 1280×853
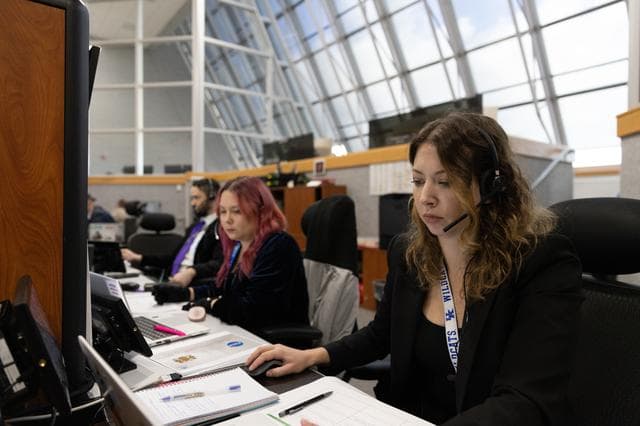
Artemis II 23rd Cryo Simulation and 24th Terminal Count Simulation
NASA/Kim Shiflett · 1280×853

Artemis I Cryogenic Propellant Tanking Test
NASA/Kim Shiflett · 1280×853

Launch Team Firing Room I Simulation for Artemis I
NASA/Kim Shiflett · 1280×853

EGS Artist Photos - Vehicle Assembly Building and Launch Control
NASA/Glenn Benson · 1280×853

Artemis II Joint Cryogenic and Terminal Count Launch Simulation
NASA/Ben Smegelsky · 1280×853

Artemis I Launch Control Center Activities
NASA/Kim Shiflett · 1280×889

Launch Team Firing Room I Simulation for Artemis I
NASA/Kim Shiflett · 853×1280

Artemis III Launch Simulation #2 - Cryo Sim
NASA/Glenn Benson · 1280×853

EGS Artist Photos - Vehicle Assembly Building and Launch Control
NASA/Glenn Benson · 1280×853

Artemis II Joint Cryogenic and Terminal Count Launch Simulation
NASA/Ben Smegelsky · 853×1280

Launch Team Firing Room I Simulation for Artemis I
NASA/Kim Shiflett · 1280×853

Artemis I Launch Control Center Activities
NASA/Kim Shiflett · 1280×714

EGS Artist Photos - Vehicle Assembly Building and Launch Control
NASA/Glenn Benson · 1280×853

Artemis II Joint Cryogenic and Terminal Count Launch Simulation
NASA/Ben Smegelsky · 1280×853

Crew Access Arm Swing Test
NASA/Kim Shiflett · 1280×853

Launch Team Firing Room I Simulation for Artemis I
NASA/Kim Shiflett · 1280×853

Artemis I Launch Control Center Activities
NASA/Kim Shiflett · 1280×853

EGS Artist Photos - Vehicle Assembly Building and Launch Control
NASA/Glenn Benson · 1280×853

Artemis II 23rd Cryo Simulation and 24th Terminal Count Simulation
NASA/Kim Shiflett · 853×1280

Crew Access Arm Swing Test
NASA/Kim Shiflett · 1280×853

Artemis I Launch Control Center Activities
NASA/Kim Shiflett · 1280×853

Launch Team Firing Room I Simulation for Artemis I
NASA/Kim Shiflett · 1280×853

EGS Artist Photos - Vehicle Assembly Building and Launch Control
NASA/Glenn Benson · 1280×853

Artemis II 23rd Cryo Simulation and 24th Terminal Count Simulation
NASA/Kim Shiflett · 1280×853

Artemis I Launch Control Center Activities
NASA/Kim Shiflett · 853×1280

Launch Team Firing Room I Simulation for Artemis I
NASA/Kim Shiflett · 1280×853

Artemis II 23rd Cryo Simulation and 24th Terminal Count Simulation
NASA/Kim Shiflett · 853×1280

Artemis I Launch Control Center Activities
NASA/Kim Shiflett · 853×1280

Launch Team Firing Room I Simulation for Artemis I
NASA/Kim Shiflett · 1280×853

Artemis I Cryogenic Propellant Tanking Test
NASA/Kim Shiflett · 1280×853

Artemis II 23rd Cryo Simulation and 24th Terminal Count Simulation
NASA/Kim Shiflett · 1280×853

EGS Artist Photos - Vehicle Assembly Building, Launch Control Ce
NASA/Glenn Benson · 1280×275

Launch Team Firing Room I Simulation for Artemis I
NASA/Kim Shiflett · 1280×853

Artemis I Launch Control Center Activities
NASA/Kim Shiflett · 853×1280