Results for “cryo”

Cryogenics Laboratory
NASA/Kim Shiflett · 1280×853

Artemis II Cryo Simulation
NASA/Kim Shiflett · 1280×853
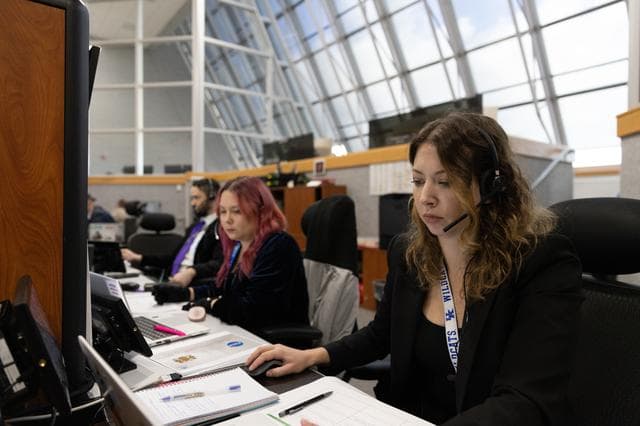
Artemis II 23rd Cryo Simulation and 24th Terminal Count Simulation
NASA/Kim Shiflett · 1280×853

Artemis II 23rd Cryo Simulation and 24th Terminal Count Simulation
NASA/Kim Shiflett · 853×1280

Artemis II 23rd Cryo Simulation and 24th Terminal Count Simulation
NASA/Kim Shiflett · 1280×853

Artemis II 23rd Cryo Simulation and 24th Terminal Count Simulation
NASA/Kim Shiflett · 853×1280

Artemis II 23rd Cryo Simulation and 24th Terminal Count Simulation
NASA/Kim Shiflett · 1280×853
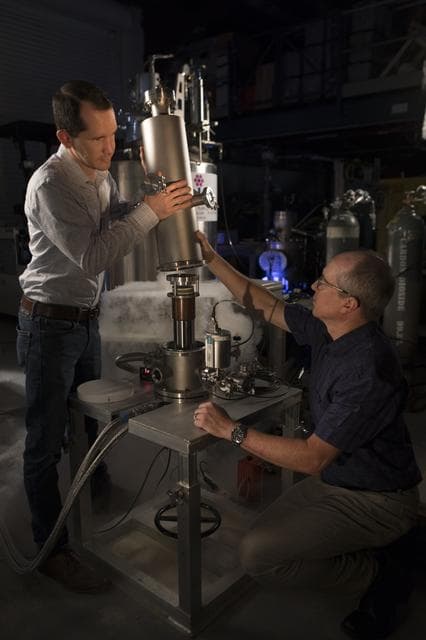
Cryogenics Laboratory
NASA/Kim Shiflett · 853×1280

Cryogenics Laboratory
NASA/Kim Shiflett · 1280×853

Artemis II 23rd Cryo Simulation and 24th Terminal Count Simulation
NASA/Kim Shiflett · 853×1280

Artemis II Cryo Simulation
NASA/Kim Shiflett · 853×1280

Artemis II Cryo Simulation
NASA/Kim Shiflett · 1280×853

Artemis II Cryo Simulation
NASA/Kim Shiflett · 1280×853
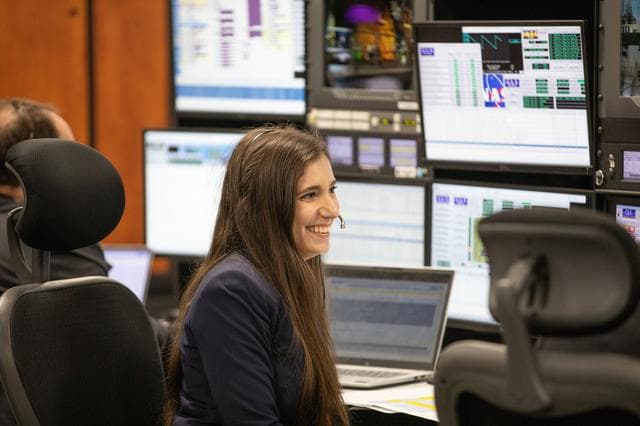
Artemis II 23rd Cryo Simulation and 24th Terminal Count Simulation
NASA/Kim Shiflett · 1280×853

Artemis II 23rd Cryo Simulation and 24th Terminal Count Simulation
NASA/Kim Shiflett · 853×1280

Cryogenics Laboratory
NASA/Kim Shiflett · 1280×853
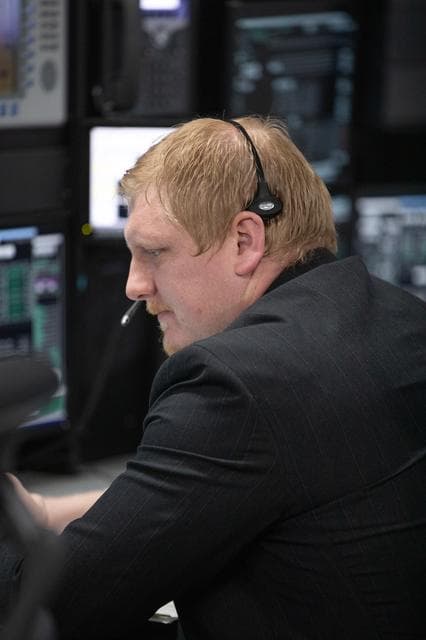
Artemis II 23rd Cryo Simulation and 24th Terminal Count Simulation
NASA/Kim Shiflett · 853×1280
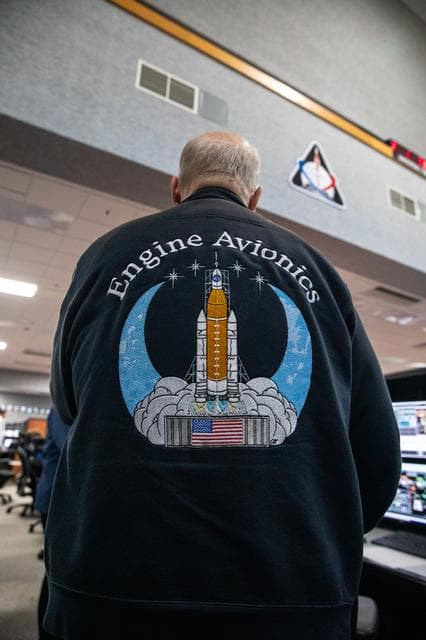
Artemis II Joint Cryogenic and Terminal Count Launch Simulation
NASA/Ben Smegelsky · 853×1280

Interim Cryogenic Propulsion Stage (ICPS) Transport from DOC to
NASA/Kim Shiflett · 1280×853

Artemis II Joint Cryogenic and Terminal Count Launch Simulation
NASA/Ben Smegelsky · 853×1280
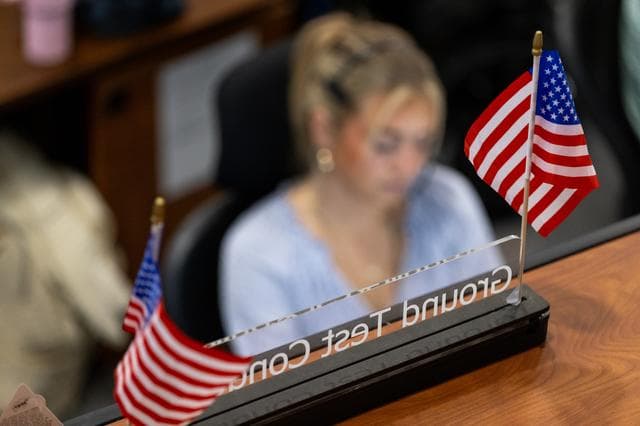
Artemis II Joint Cryogenic and Terminal Count Launch Simulation
NASA/Ben Smegelsky · 1280×853

Interim Cryogenic Propulsion Stage (ICPS) Transport from DOC to
NASA/Kim Shiflett · 1280×853

Artemis I Cryogenic Propellant Tanking Test
NASA/Kim Shiflett · 1280×853

Interim Cryogenic Propulsion Stage (ICPS) Transport from DOC to
NASA/Kim Shiflett · 853×1280

Artemis II Joint Cryogenic and Terminal Count Launch Simulation
NASA/Ben Smegelsky · 1280×853

Interim Cryogenic Propulsion Stage (ICPS) Transport from DOC to
NASA/Kim Shiflett · 1280×853

Artemis III Launch Simulation #2 - Cryo Sim
NASA/Glenn Benson · 1280×853

Artemis II Joint Cryogenic and Terminal Count Launch Simulation
NASA/Ben Smegelsky · 853×1280

Artemis II Joint Cryogenic and Terminal Count Launch Simulation
NASA/Ben Smegelsky · 1280×853

Artemis I Cryogenic Propellant Tanking Test
NASA/Kim Shiflett · 1280×853

Artemis I Cryogenic Propellant Tanking Test
NASA/Kim Shiflett · 1280×853

Artemis I Cryogenic Propellant Tanking Test
NASA/Kim Shiflett · 853×1280

Artemis II Joint Cryogenic and Terminal Count Launch Simulation
NASA/Ben Smegelsky · 1280×853

Artemis I Cryogenic Propellant Tanking Test
NASA/Kim Shiflett · 1280×853

Artemis I Cryogenic Propellant Tanking Test
NASA/Kim Shiflett · 853×1280

Artemis I Cryogenic Propellant Tanking Test
NASA/Kim Shiflett · 853×1280

Interim Cryogenic Propulsion Stage (ICPS) Transport from DOC to
NASA/Kim Shiflett · 853×1280

Artemis III Launch Simulation #2 - Cryo Sim
NASA/Glenn Benson · 1280×853

Artemis Cryo Sim 4
NASA/Chad Siwik · 1280×960

Interim Cryogenic Propulsion Stage (ICPS) Transport from DOC to
NASA/Kim Shiflett · 1280×853