Results for “artemis”

Artemis I 2nd Launch Attempt Firing Room Activities
NASA/Kim Shiflett · 1280×853
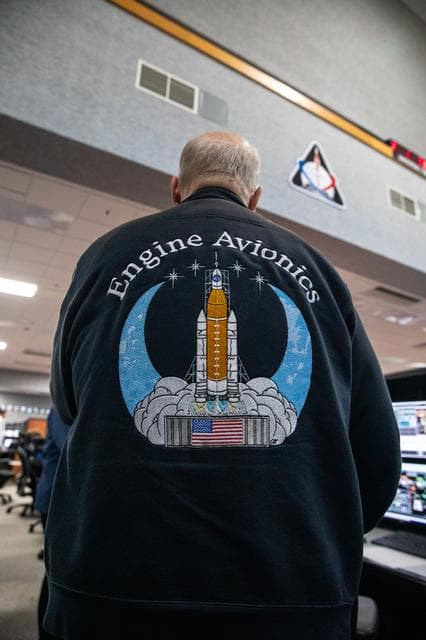
Artemis II Joint Cryogenic and Terminal Count Launch Simulation
NASA/Ben Smegelsky · 853×1280
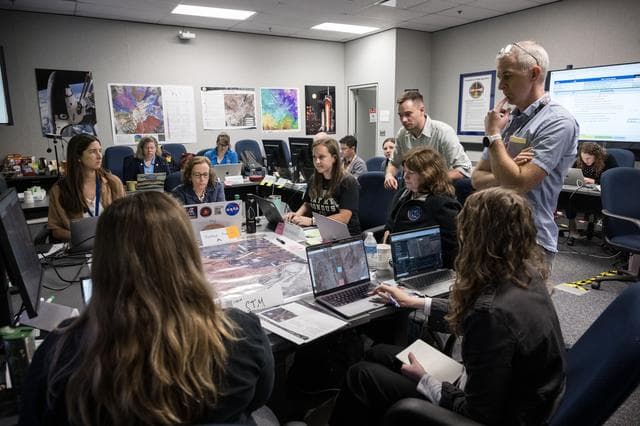
JETT 5 - jsc2024e034645
ROBERT MARKOWITZ NASA-JSC · 1280×853

Artemis I Launch Control Center Activities
NASA/Kim Shiflett · 853×1280
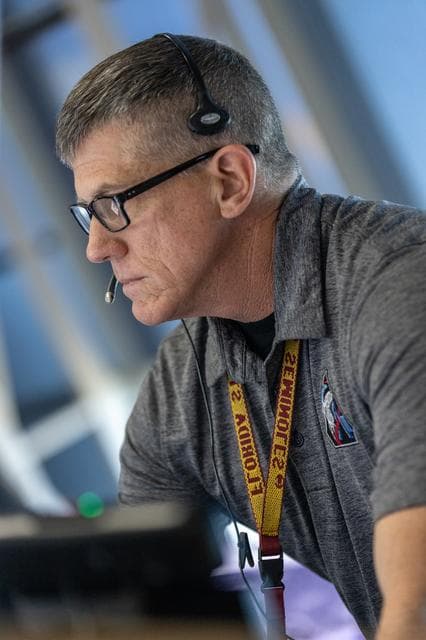
Artemis II Joint Cryogenic and Terminal Count Launch Simulation
NASA/Ben Smegelsky · 853×1280

Artemis II Cryo Simulation
NASA/Kim Shiflett · 1280×853

Artemis I Weather Simulation
NASA/Kim Shiflett · 853×1280

Artemis I Launch Director and Plaque Award Ceremony
NASA/Isaac Watson · 1280×853
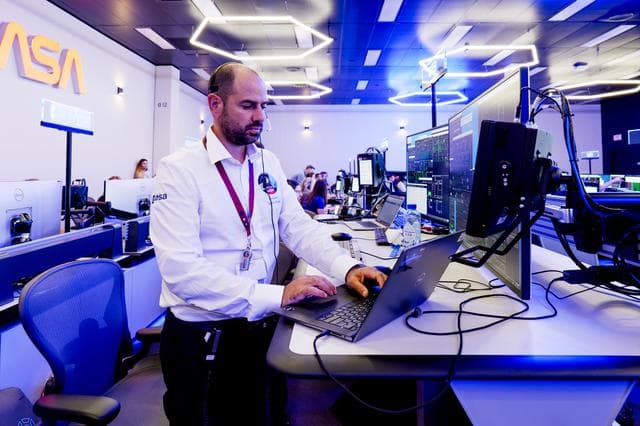
Orion Mission Evaluation Room (MER) Team
NASA/Rad Sinyak · 1280×853

Artemis V Engine Section Barrel Enters Vertical Assembly Center
Morgan Parker · 853×1280
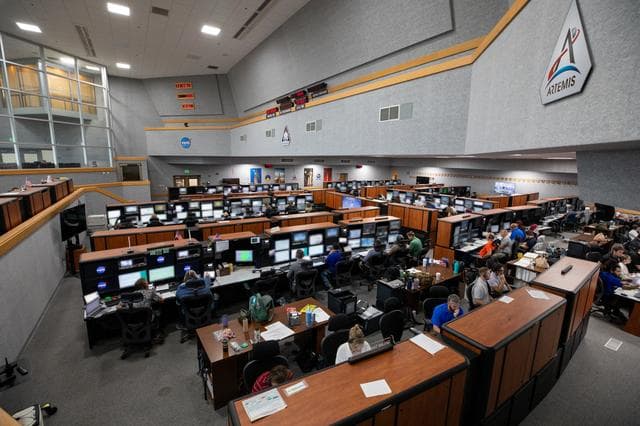
Artemis II Terminal Count Simulation
NASA/Ben Smegelsky · 1280×853

Launch Team Firing Room I Simulation for Artemis I
NASA/Kim Shiflett · 1280×853
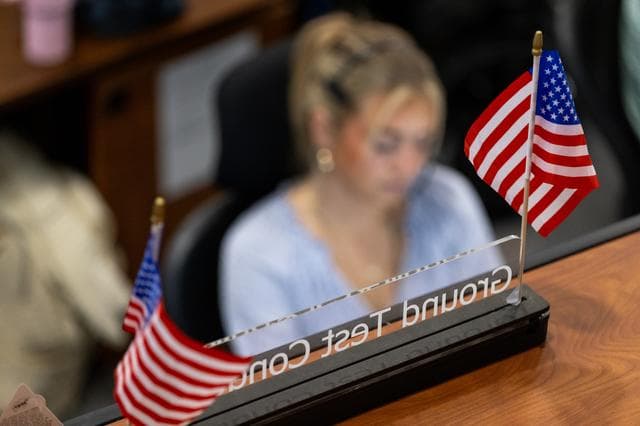
Artemis II Joint Cryogenic and Terminal Count Launch Simulation
NASA/Ben Smegelsky · 1280×853
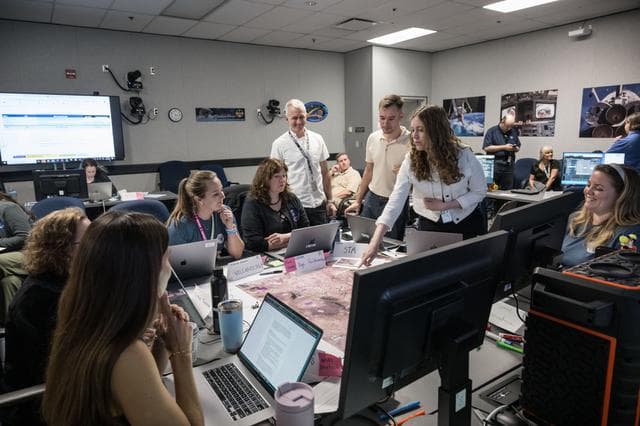
JETT 5 - jsc2024e034062
ROBERT MARKOWITZ NASA-JSC · 1280×853
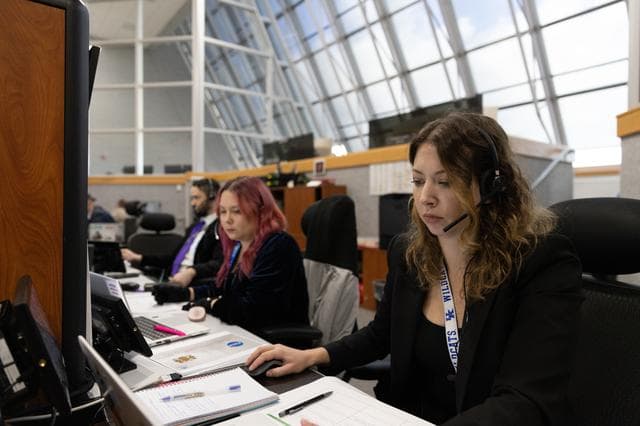
Artemis II 23rd Cryo Simulation and 24th Terminal Count Simulation
NASA/Kim Shiflett · 1280×853

Engine Section for NASA’s SLS Rocket Moved for Final Integration
Jude Guidry · 853×1280

Artemis I Cryogenic Propellant Tanking Test
NASA/Kim Shiflett · 1280×853

Artemis I Terminal Count Launch Simulation
NASA/Kim Shiflett · 1280×853

Artemis I Weather Simulation
NASA/Kim Shiflett · 853×1280

Artemis V Engine Section Barrel Enters Vertical Assembly Center
Morgan Parker · 853×1280

Launch Team Firing Room I Simulation for Artemis I
NASA/Kim Shiflett · 1280×853

Artemis I 2nd Launch Attempt Firing Room Activities
NASA/Kim Shiflett · 853×1280
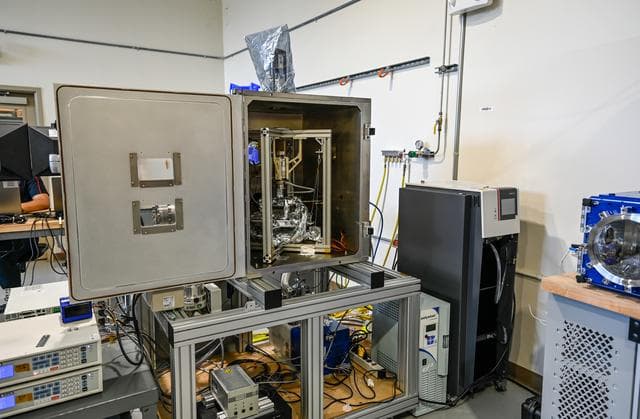
Marshall, space, flight
Ken Hall · 1280×838
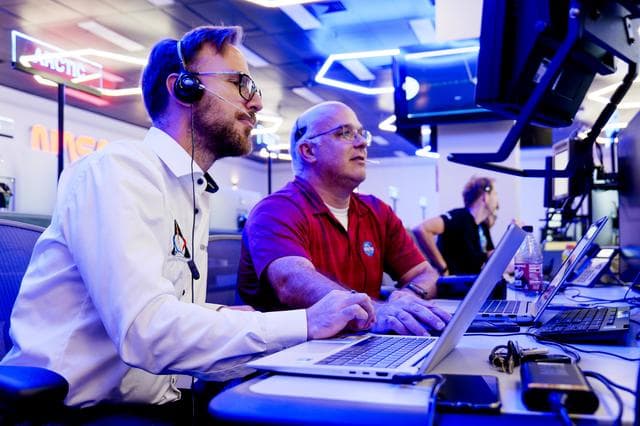
Orion Mission Evaluation Room (MER) Team
NASA/Rad Sinyak · 1280×853

Artemis III machining at Ingersoll Machine Tool, Inc (jsc2022e046033)
NASA Johnson Space Center / NASA / Radislav Sinyak · 8368×5584

Artemis I Launch Control Center Activities
NASA/Kim Shiflett · 1280×889

Artemis II Joint Cryogenic and Terminal Count Launch Simulation
NASA/Ben Smegelsky · 1280×853

Artemis I Weather Simulation
NASA/Kim Shiflett · 1280×853

Artemis, lyndon, johnson
NASA Johnson Space Center / Robert Markowitz - NASA - JSC · 8256×5504

Launch Team Firing Room I Simulation for Artemis I
NASA/Kim Shiflett · 853×1280

Artemis II Terminal Count Simulation #25
NASA/Amber Jean Notvest · 1280×853

Artemis I Launch Director and Plaque Award Ceremony
NASA/Isaac Watson · 1280×887

Return to the Pad: Astronaut Michael Collins Reflects on Apollo
NASA/Kim Shiflett · 1280×853

Artemis III Launch Simulation #2 - Cryo Sim
NASA/Glenn Benson · 1280×853
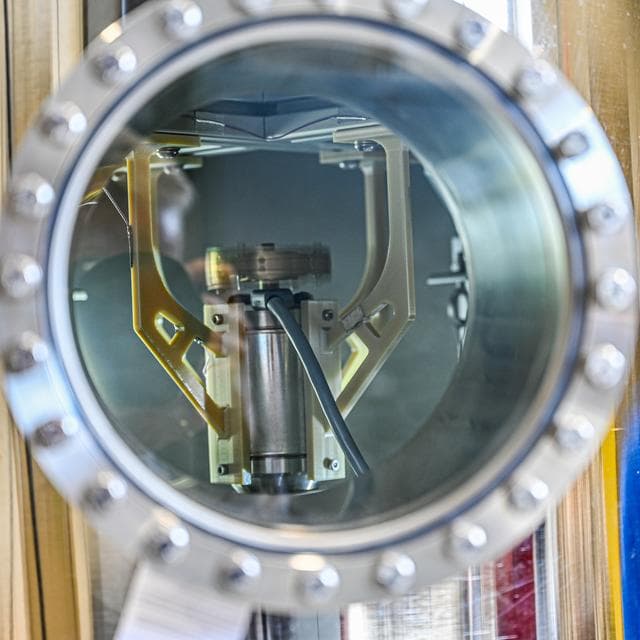
Starship, hls, human
Ken Hall · 1280×1280

Artemis II Joint Cryogenic and Terminal Count Launch Simulation
NASA/Ben Smegelsky · 853×1280

Artemis I Launch Director and Plaque Award Ceremony
NASA/Isaac Watson · 1280×853
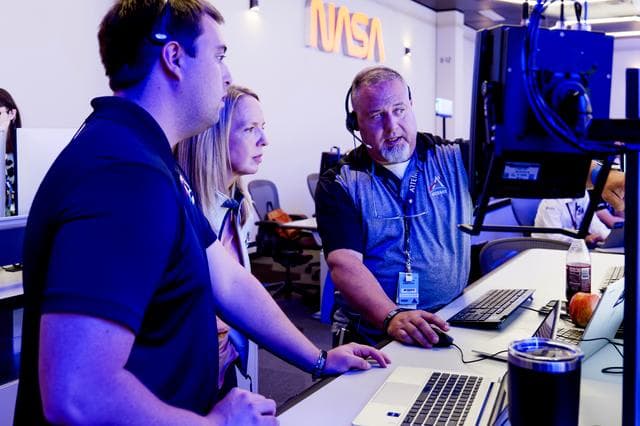
Orion Mission Evaluation Room (MER) Team
NASA/Rad Sinyak · 1280×853

Launch Team Firing Room I Simulation for Artemis I
NASA/Kim Shiflett · 1280×853

Artemis I Launch Control Center Activities
NASA/Kim Shiflett · 1280×714