Results for “launch”

Solar Orbiter Spacecraft Lift and Mate
NASA/Ben Smegelsky · 853×1280
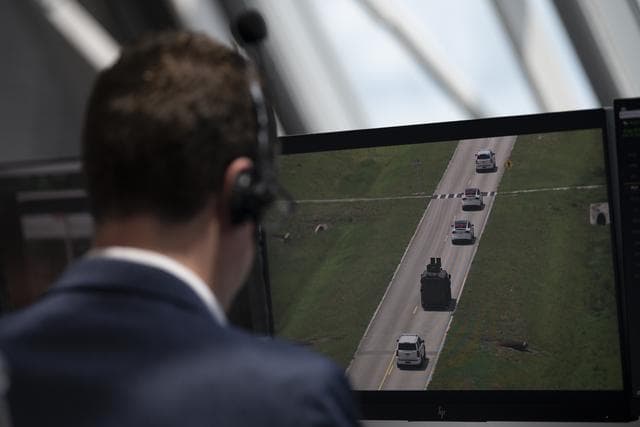
SpaceX Demo-2 Launch
NASA/Joel Kowsky · 1280×855
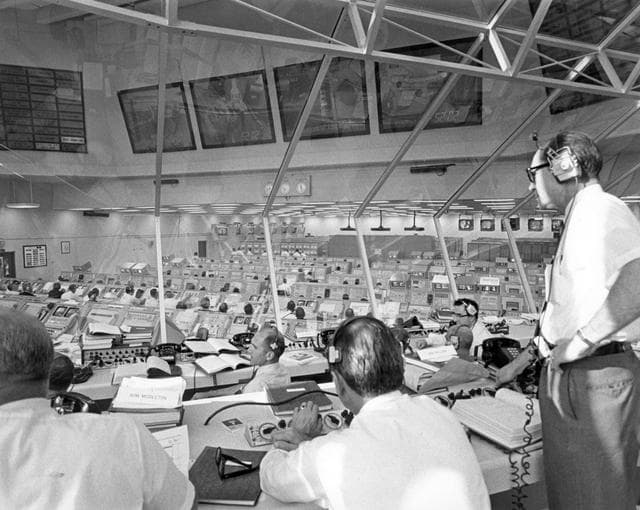
Saturn Apollo Program
NASA/MSFC · 1280×1020

Artemis III Launch Simulation
NASA/Amber Jean Notvest · 1280×853

Launch Team Firing Room I Simulation for Artemis I
NASA/Kim Shiflett · 1280×853

TDRS-M Spacecraft Lift to Transport Vehicle
NASA/Kim Shiflett · 1280×853

Artemis II Cryo Simulation
NASA/Kim Shiflett · 1280×853

EM-1 Countdown Simulation with Charlie Blackwell-Thompson
NASA/Cory Huston · 1280×853

Artemis III Launch Simulation #2 - Cryo Sim
NASA/Glenn Benson · 1280×853

Parker Solar Probe Solar Array Deployment
NASA/Kim Shiflett · 853×1280
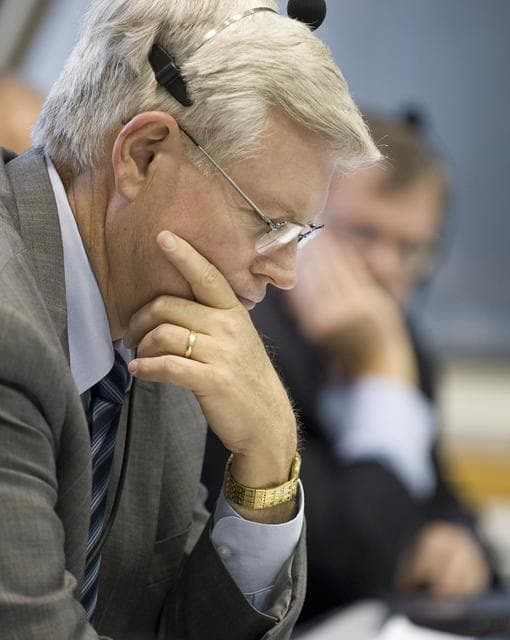
STS-127 Firing Room
NASA/Bill Ingalls · 1021×1280

Solar Orbiter Spacecraft Lift and Mate
NASA/Ben Smegelsky · 853×1280
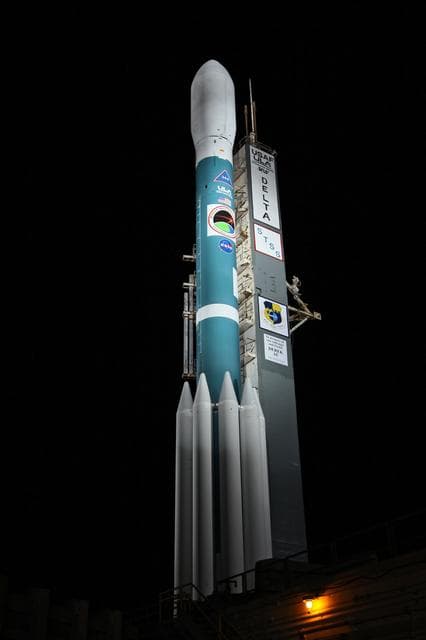
Cape, canaveral, mobile
NASA/KSC · 853×1280

Artemis III Launch Simulation
NASA/Amber Jean Notvest · 853×1280
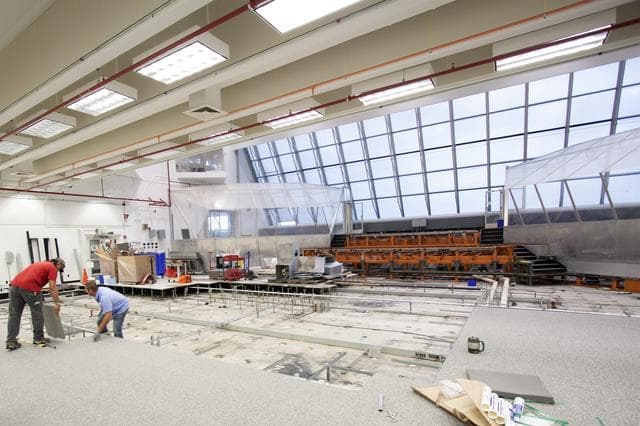
Lcc, launch, control
NASA/KSC · 1280×852
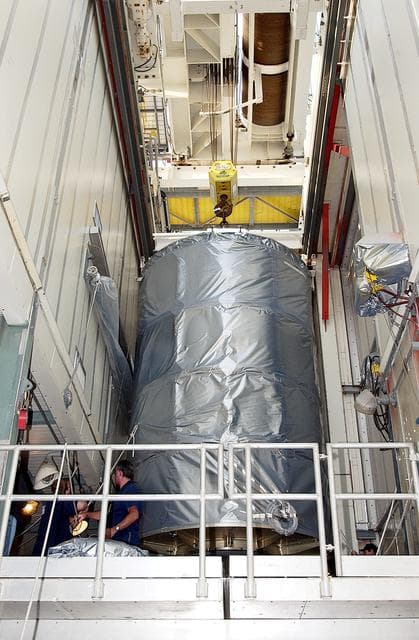
Kennedy, space, center
NASA/KSC · 839×1280

Launch Team Firing Room I Simulation for Artemis I
NASA/Kim Shiflett · 853×1280

Artemis III Launch Simulation - Terminal Count Sim
NASA/Amber Jean Notvest · 1280×853

Artemis II Terminal Count Simulation #25
NASA/Amber Jean Notvest · 853×1280

SpaceX PACE at Sunset
SpaceX · 853×1280
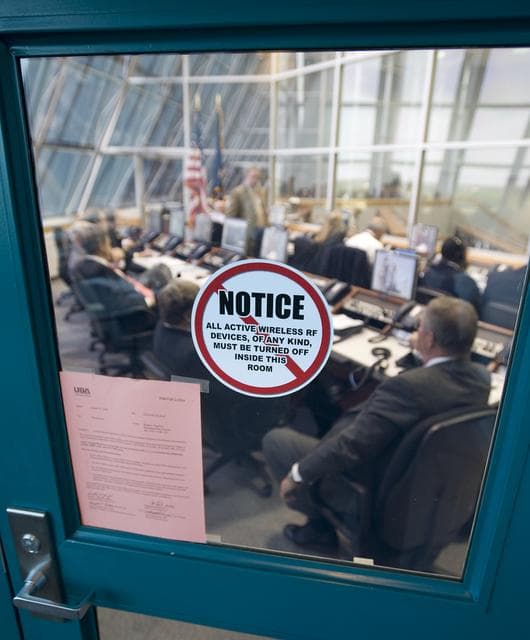
STS-127 Firing Room
NASA/Bill Ingalls · 1060×1280

Artemis III Launch Simulation #2 - Cryo Sim
NASA/Glenn Benson · 1280×853

Parker Solar Probe Solar Array Deployment
NASA/Kim Shiflett · 1280×853

GOES-S Transport to Kennedy Space Center
Michael Starobin/NASA/NOAA · 1280×853

EM-1 Countdown Simulation with Charlie Blackwell-Thompson
NASA/Cory Huston · 1280×853

Solar Orbiter Spacecraft Lift and Mate
NASA/Ben Smegelsky · 720×1280
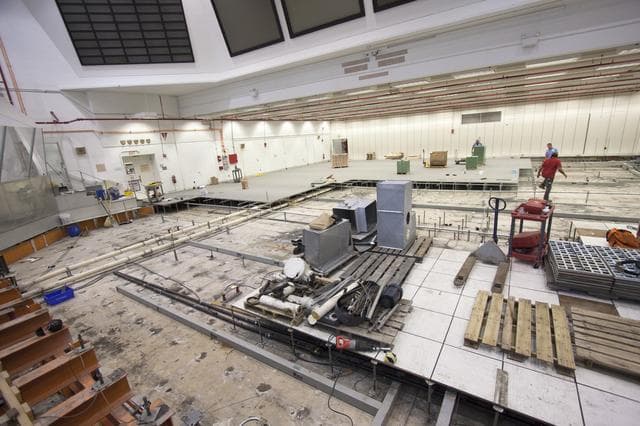
Lcc, launch, control
NASA/KSC · 1280×853

Artemis III Launch Simulation
NASA/Amber Jean Notvest · 853×1280

Artemis I 2nd Launch Attempt Firing Room Activities
NASA/Kim Shiflett · 1280×853

Launch Team Firing Room I Simulation for Artemis I
NASA/Kim Shiflett · 1280×853

SpaceX PACE at Sunset
SpaceX · 1280×853
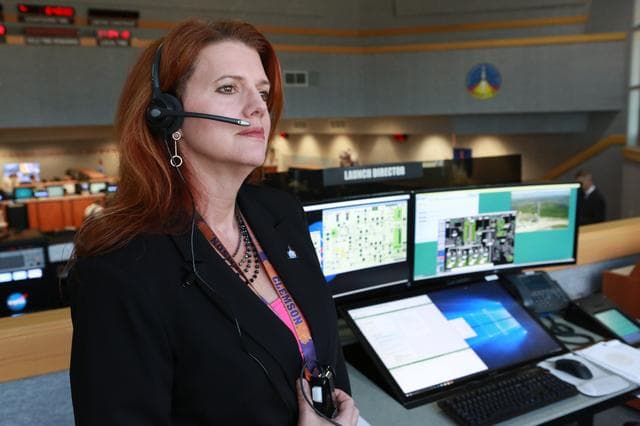
EM-1 Countdown Simulation with Charlie Blackwell-Thompson
NASA/Cory Huston · 1280×853

Artemis III Launch Simulation #2 - Cryo Sim
NASA/Glenn Benson · 1280×853

Artemis III Launch Simulation
NASA/Amber Jean Notvest · 853×1280

EM-1 Countdown Simulation with Charlie Blackwell-Thompson
NASA/Cory Huston · 1280×853

Pegasus ICON Solar Array Illumination Test
USAF 30th Space Wing/Daniel Quin · 1190×1280

GOES-S Transport to Kennedy Space Center
Michael Starobin/NASA/NOAA · 1280×956

Artemis II Terminal Count Simulation #25
NASA/Amber Jean Notvest · 1280×853
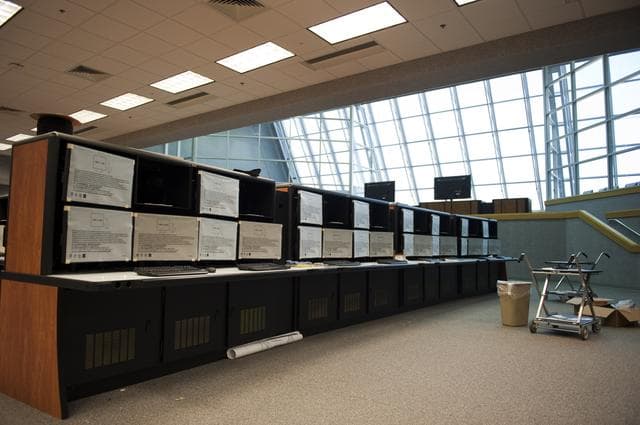
Firing, room, launch
NASA/KSC · 1280×851

Artemis III Launch Simulation
NASA/Amber Jean Notvest · 1280×853