Results for “launch”

Return to the Pad: Astronaut Michael Collins Reflects on Apollo
NASA/Kim Shiflett · 1280×853

Artemis III Launch Simulation
NASA/Cory Huston · 1280×853

Artemis I Cryogenic Propellant Tanking Test
NASA/Kim Shiflett · 1280×853

Solar Orbiter Spacecraft Lift and Mate
NASA/Ben Smegelsky · 1280×853

Launch Team Firing Room I Simulation for Artemis I
NASA/Kim Shiflett · 1280×853

Artemis II Terminal Count Simulation #25
NASA/Amber Jean Notvest · 853×1280

Artemis I Cryogenic Propellant Tanking Test
NASA/Kim Shiflett · 853×1280

Return to the Pad: Astronaut Michael Collins Reflects on Apollo
NASA/Kim Shiflett · 1280×853

Launch Team Firing Room I Simulation for Artemis I
NASA/Kim Shiflett · 1280×853

Return to the Pad: Astronaut Michael Collins Reflects on Apollo
NASA/Kim Shiflett · 1280×853
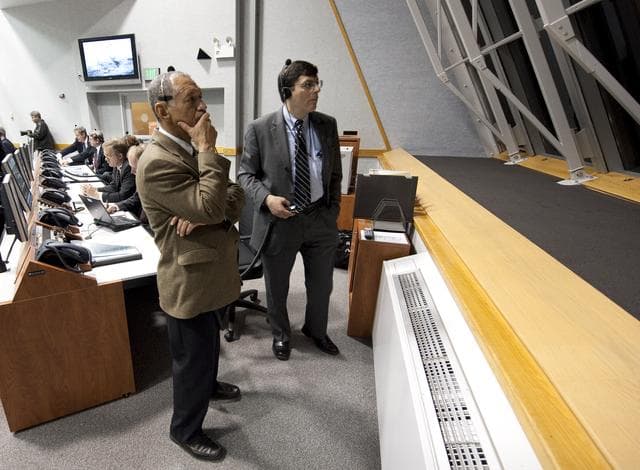
STS-130 Launch Attempt
NASA/Bill Ingalls · 1280×941

Return to the Pad: Astronaut Michael Collins Reflects on Apollo
NASA/Kim Shiflett · 1280×853
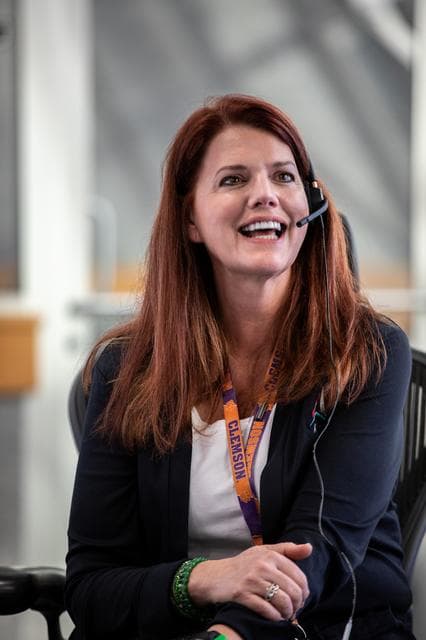
Artemis I Cryogenic Propellant Tanking Test
NASA/Kim Shiflett · 853×1280

Artemis III Launch Simulation
NASA/Cory Huston · 1280×720

OSIRIS-REx Solar Array Illumination Test
NASA/Cory Huston · 853×1280

Solar Orbiter Spacecraft Lift and Mate
NASA/Ben Smegelsky · 1280×853

Launch Team Firing Room I Simulation for Artemis I
NASA/Kim Shiflett · 853×1280

Pegasus ICON Solar Array Panel Removal
NASA/Randy Beaudoin · 1280×853

Launch Team Firing Room I Simulation for Artemis I
NASA/Kim Shiflett · 853×1280
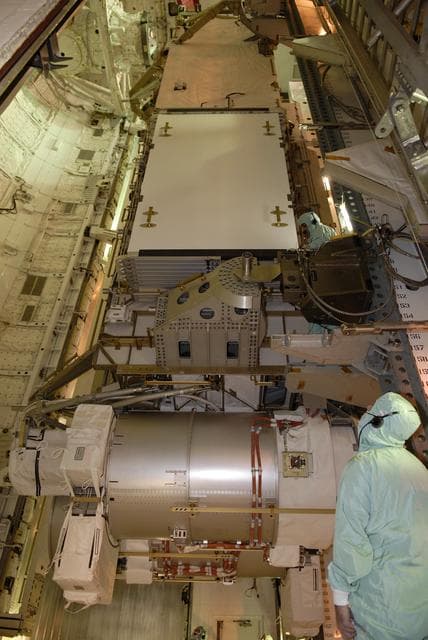
Solar, array, cape
NASA/KSC · 856×1280

Artemis I 2nd Launch Attempt Firing Room Activities
NASA/Kim Shiflett · 1280×853
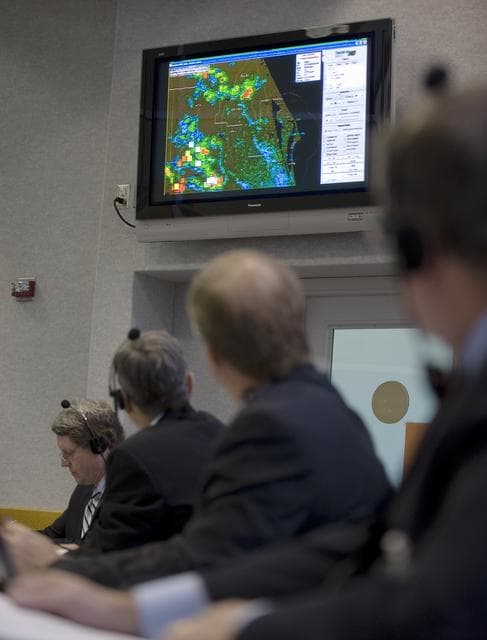
STS-127 Firing Room
NASA/Bill Ingalls · 974×1280

Launch Control Center
NASA/Kim Shiflett · 1280×853

Artemis III Launch Simulation #2 - Cryo Sim
NASA/Glenn Benson · 1280×853
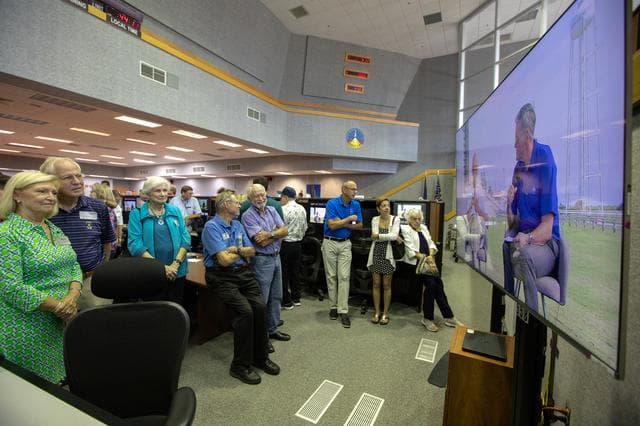
Return to the Pad: Astronaut Michael Collins Reflects on Apollo
NASA/Kim Shiflett · 1280×853

Return to the Pad: Astronaut Michael Collins Reflects on Apollo
NASA/Kim Shiflett · 1280×853

OSIRIS-REx Solar Array Illumination Test
NASA/Cory Huston · 1280×853

Artemis Cryo Sim 4
NASA/Chad Siwik · 1280×960

Solar Orbiter Spacecraft Lift and Mate
NASA/Ben Smegelsky · 853×1280

Launch Team Firing Room I Simulation for Artemis I
NASA/Kim Shiflett · 1280×853

Pegasus ICON Solar Array Panel Removal
NASA/Randy Beaudoin · 1280×853
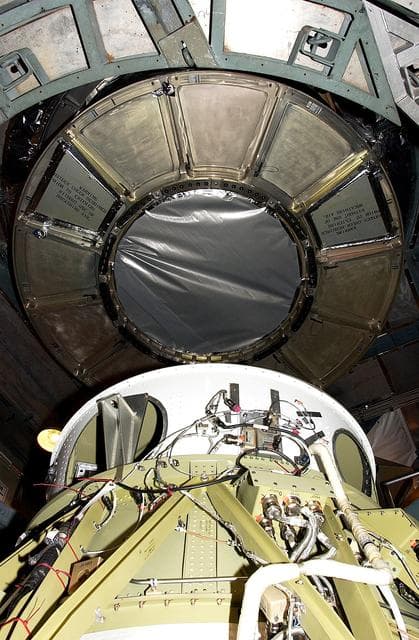
Kennedy, space, center
NASA/KSC · 839×1280

Artemis II Terminal Count Simulation #25
NASA/Amber Jean Notvest · 1280×853
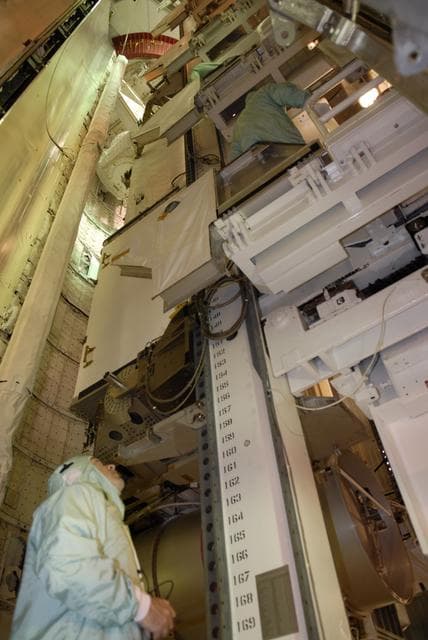
Solar, array, cape
NASA/KSC · 856×1280

Launch Team Firing Room I Simulation for Artemis I
NASA/Kim Shiflett · 853×1280

Artemis III Launch Simulation #2 - Cryo Sim
NASA/Glenn Benson · 1280×853
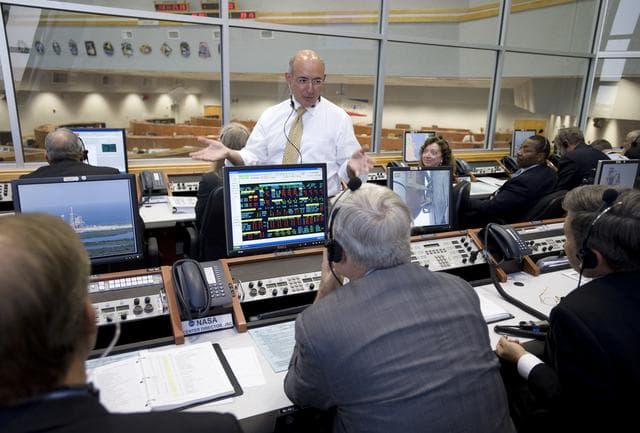
STS-127 Firing Room
NASA/Bill Ingalls · 1280×866

Return to the Pad: Astronaut Michael Collins Reflects on Apollo
NASA/Kim Shiflett · 1280×853
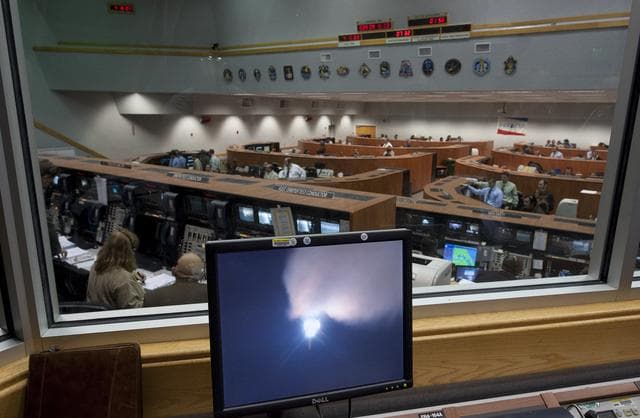
STS-130 Endeavour Launch
NASA/Bill Ingalls · 1280×836

OSIRIS-REx Solar Array Illumination Test
NASA/Cory Huston · 1280×853