Results for “asus”

Pegasus ICON Solar Array Deployment Test
NASA/Randy Beaudoin · 1280×853

Pegasus ICON Solar Array Illumination Test
USAF 30th Space Wing/Daniel Quin · 1280×902
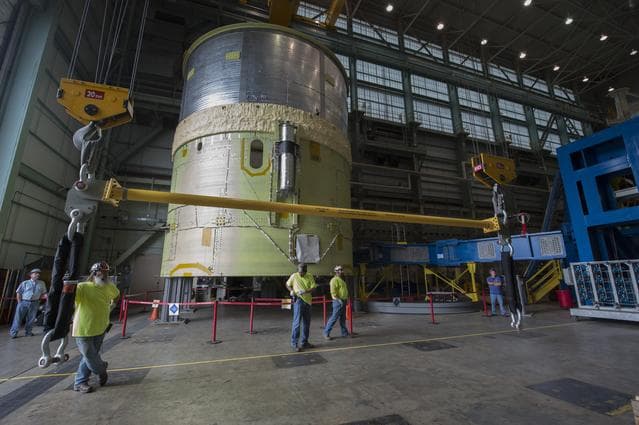
Pegasus delivers SLS engine section
Emmett Given · 1279×851

Pegasus XL CYGNSS Microsats Installation on Deployment Module
NASA/Randy Beaudoin · 854×1280

Pegasus ICON Solar Array Deployment Test
NASA/Randy Beaudoin · 1280×853
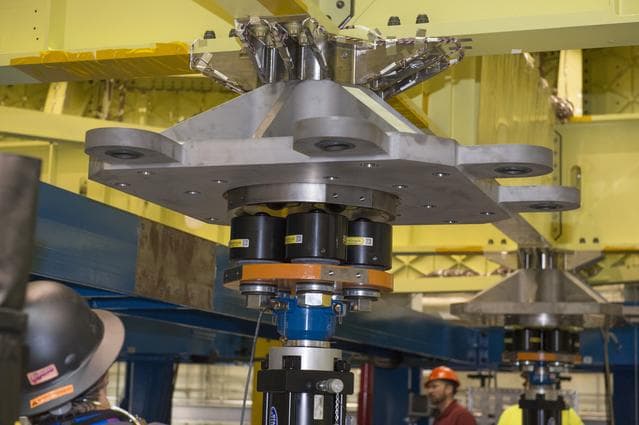
Pegasus delivers SLS engine section
Emmett Given · 1279×851

Pegasus ICON Solar Array Illumination Test
NASA/Randy Beaudoin · 853×1280
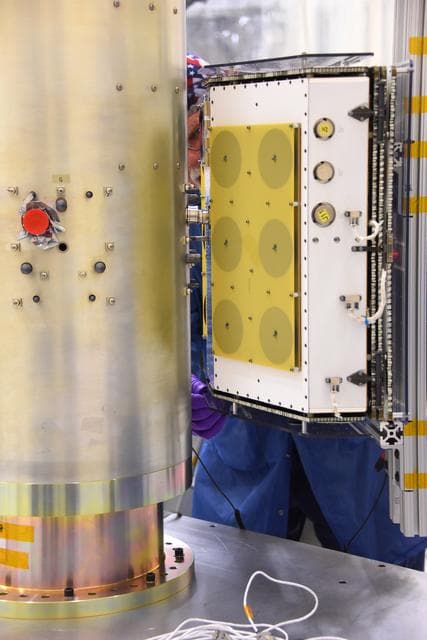
Pegasus XL CYGNSS Microsats Installation on Deployment Module
NASA/Rod Speed · 854×1280

Pegasus ICON Solar Array Deployment Test
NASA/Randy Beaudoin · 1280×853
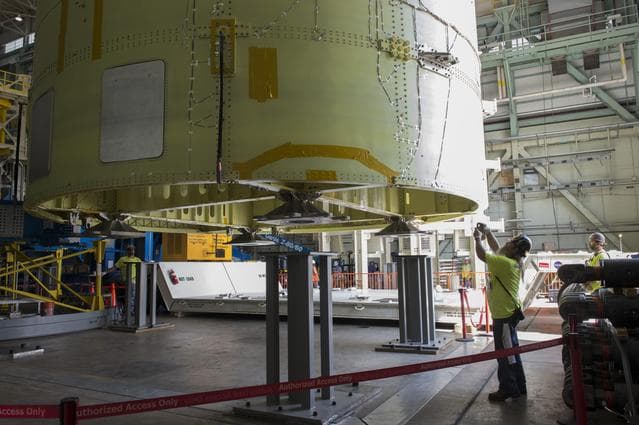
Pegasus delivers SLS engine section
Emmett Given · 1279×851

Pegasus XL CYGNSS Microsats Installation on Deployment Module
USAF · 854×1280

Pegasus ICON Solar Array Deployment Test
NASA/Randy Beaudoin · 1280×853
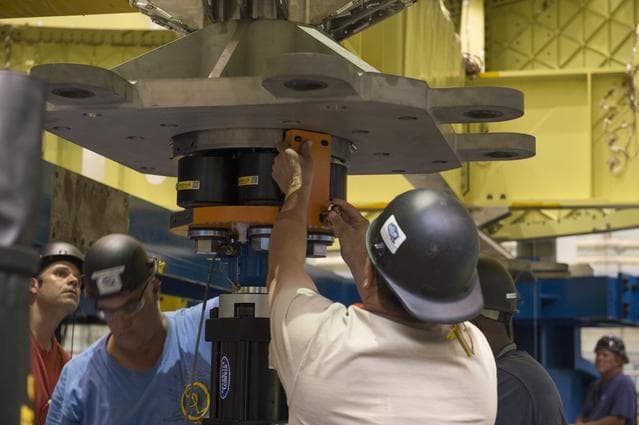
Pegasus delivers SLS engine section
Emmett Given · 1279×851

Pegasus XL CYGNSS Microsats Installation on Deployment Module
NASA/Rod Speed · 1280×854

Pegasus ICON Solar Array Deployment Test
USAF 30 SCS/Pedro Carrillo · 1280×854
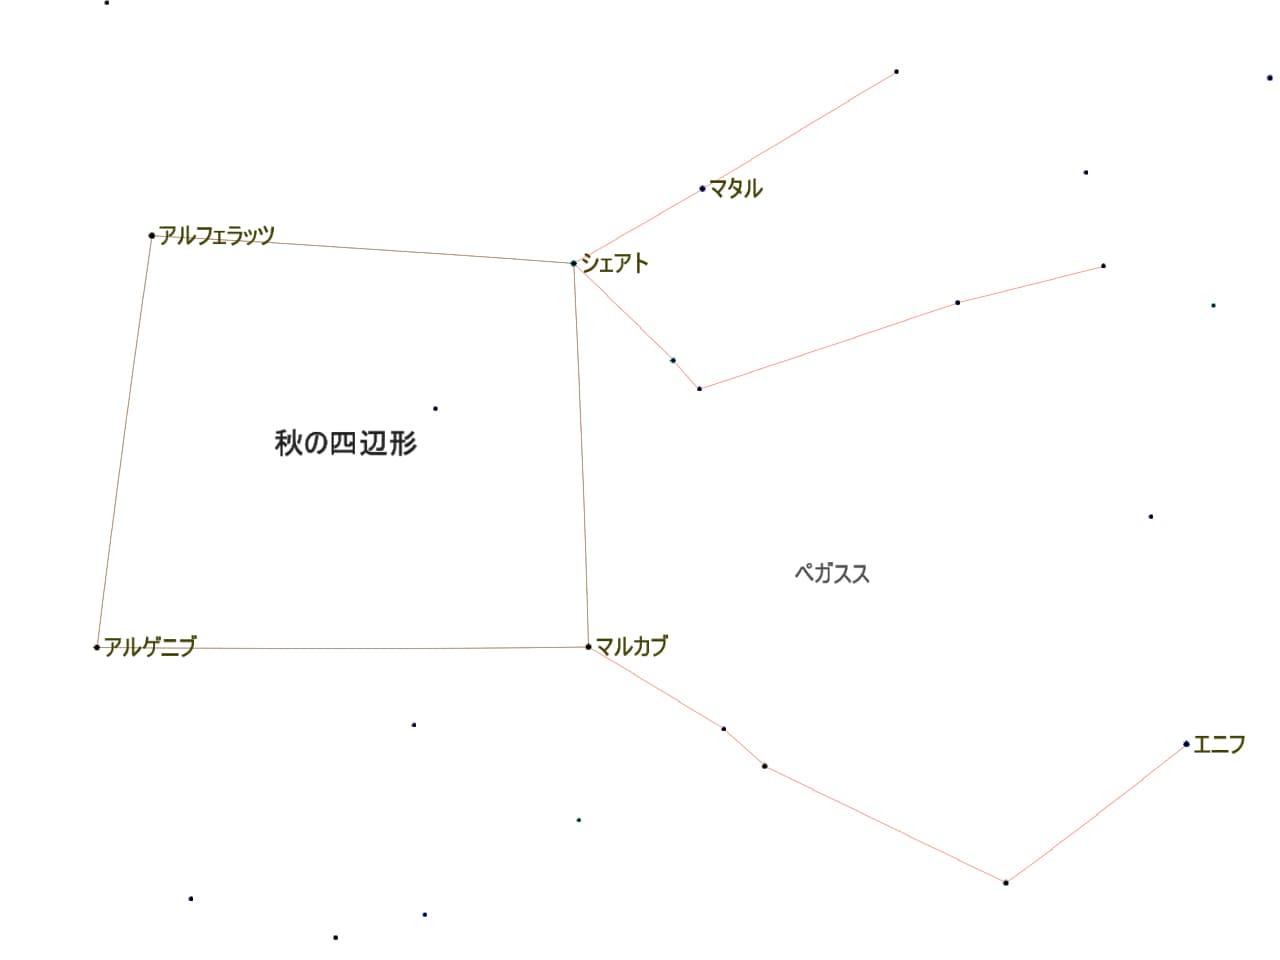
Great Square of Pegasus
Kovayashi · 1280×960
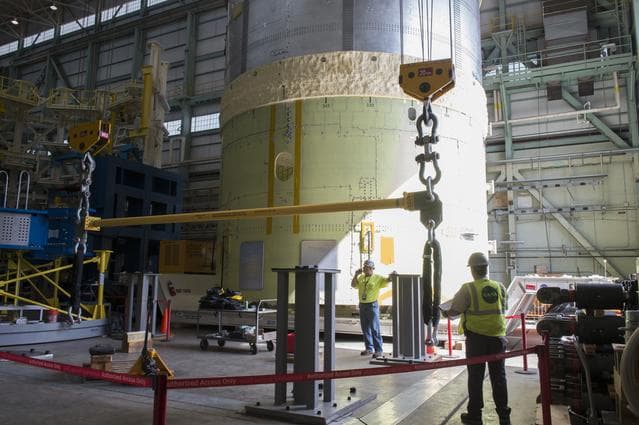
Pegasus delivers SLS engine section
Emmett Given · 1279×851

Pegasus ICON Solar Array Deployment Test
NASA/Randy Beaudoin · 1280×853

Pegasus XL CYGNSS Microsats Installation on Deployment Module
NASA/Rod Speed · 1280×854
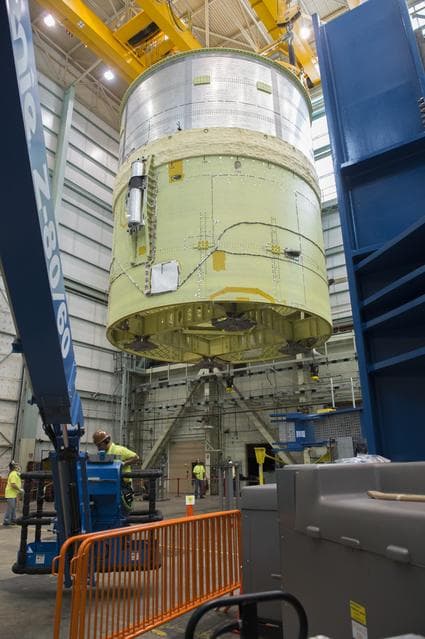
Pegasus delivers SLS engine section
Emmett Given · 851×1279

Pegasus XL CYGNSS Microsats Installation on Deployment Module
NASA/Rod Speed · 854×1280

Pegasus ICON Solar Array Deployment Test
USAF 30 SCS/Pedro Carrillo · 1280×854
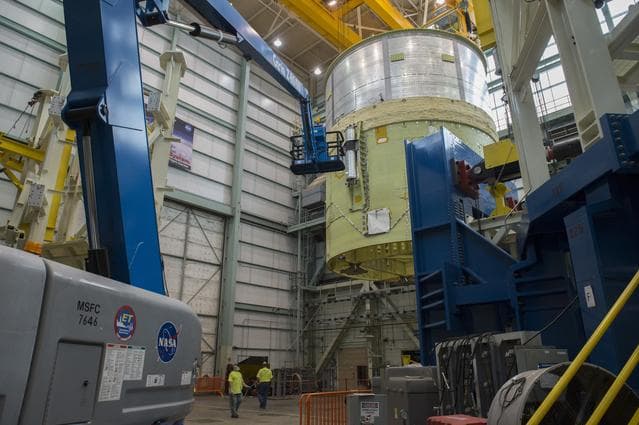
Pegasus delivers SLS engine section
Emmett Given · 1279×851

Pegasus XL CYGNSS Microsats Installation on Deployment Module
USAF · 854×1280
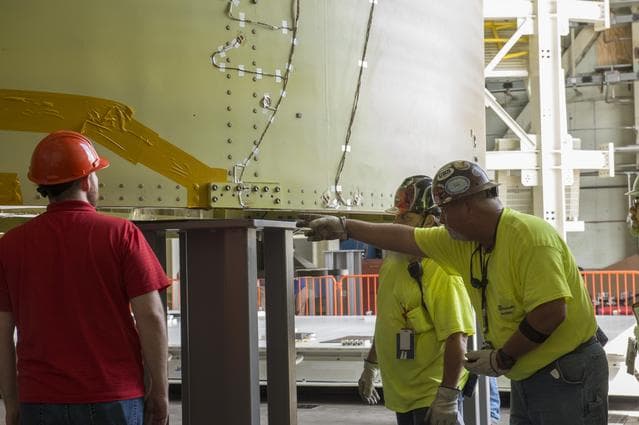
Pegasus delivers SLS engine section
Emmett Given · 1279×851

Pegasus XL CYGNSS Microsats Installation on Deployment Module
NASA/Rod Speed · 1280×854
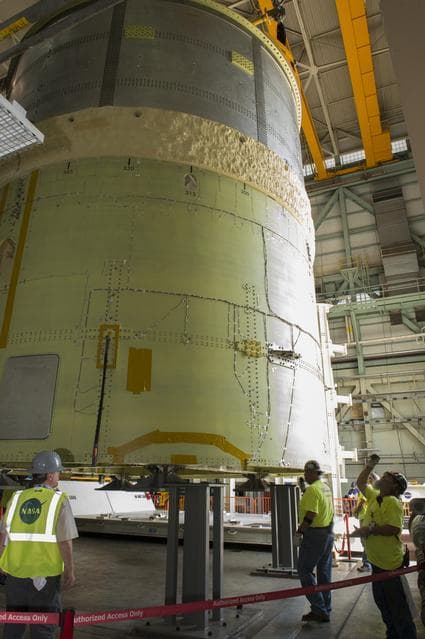
Pegasus delivers SLS engine section
Emmett Given · 851×1279

Pegasus XL CYGNSS Microsats Installation on Deployment Module
USAF · 854×1280
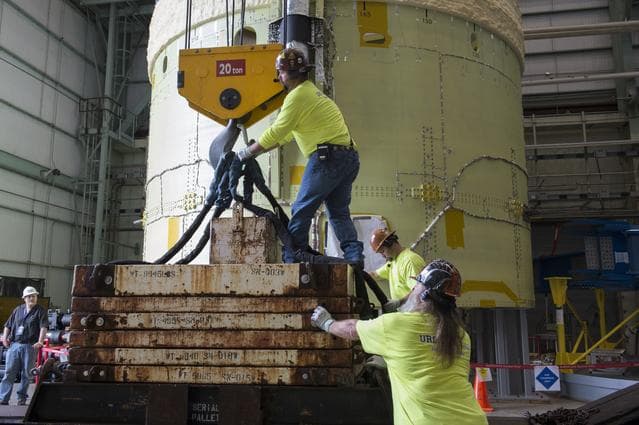
Pegasus delivers SLS engine section
Emmett Given · 1279×851