Results for “launch”
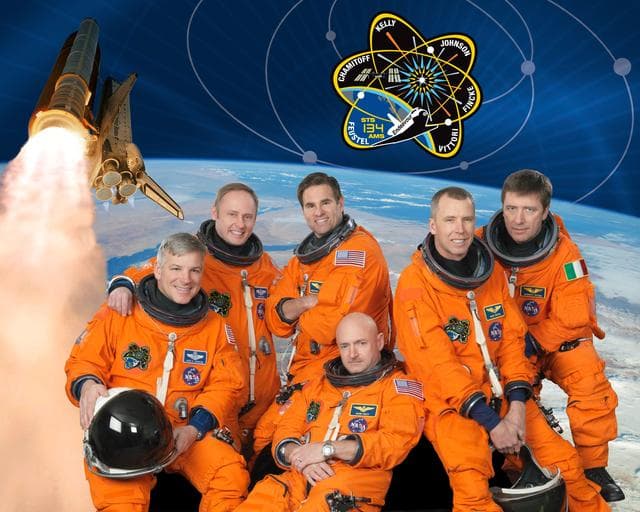
STS-134 Crew Portrait
Robert Markowitz - NASA - JSC · 1280×1024
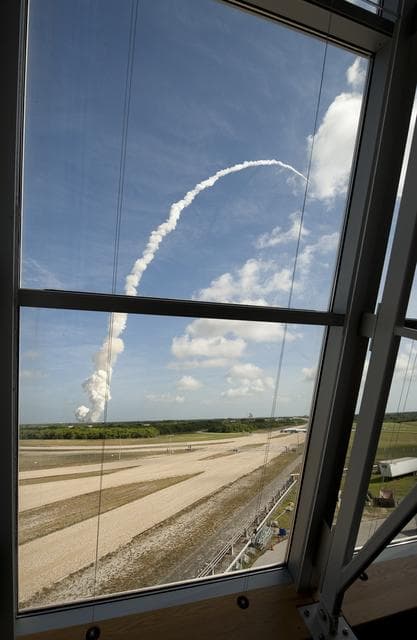
ARES I-X Launch
NASA/Bill Ingalls · 834×1280

EM-1 Countdown Simulation with Charlie Blackwell-Thompson
NASA/Cory Huston · 1280×853

Artemis III Launch Simulation #2 - Cryo Sim
NASA/Glenn Benson · 1280×853
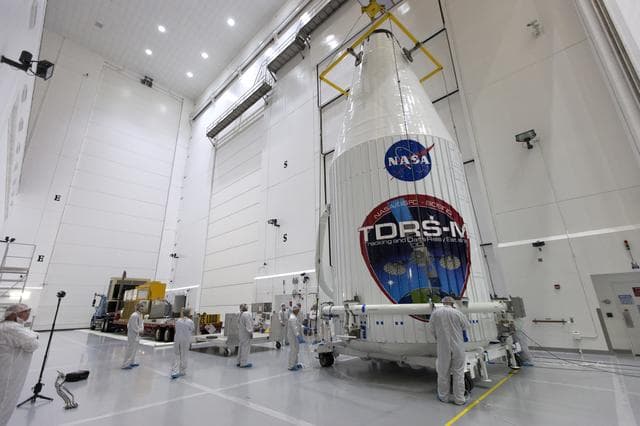
TDRS-M Spacecraft Lift to Transport Vehicle
NASA/Kim Shiflett · 1280×853

Artemis II Terminal Count Simulation
NASA/Glenn Benson · 1280×853

Pegasus ICON Solar Array Deployment Test
USAF 30 SCS/Pedro Carrillo · 1280×854

GOES-S Transport to Kennedy Space Center
Michael Starobin/NASA/NOAA · 1280×712

Firing Room 1 inside the Launch Control Center (LCC)
NASA/Bill White · 1280×853
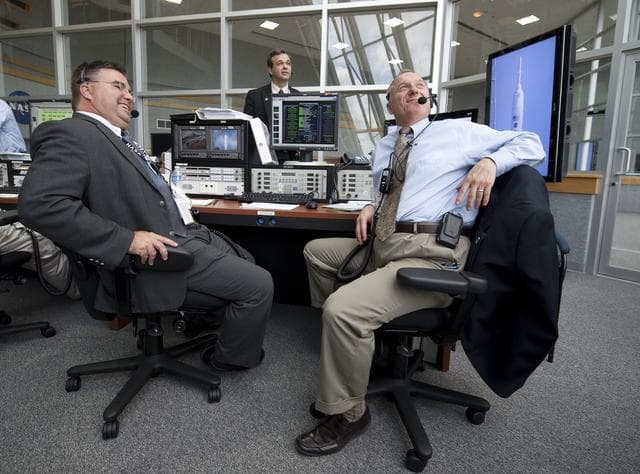
ARES I-X Launch
NASA/Bill Ingalls · 1280×948
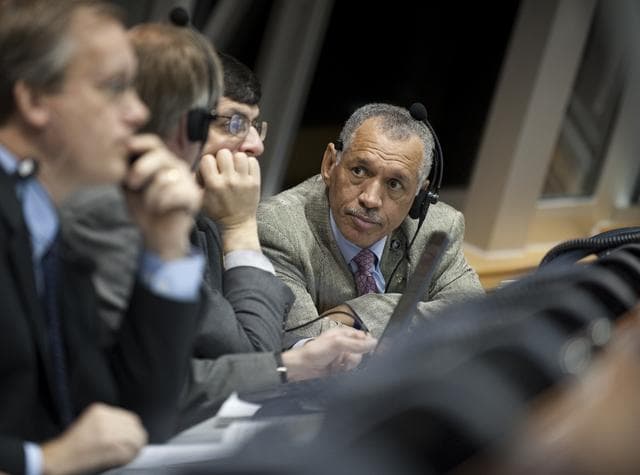
STS-130 Endeavour Launch
NASA/Bill Ingalls · 1280×950
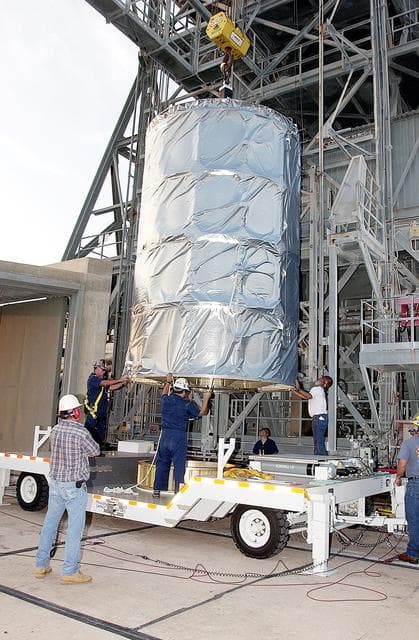
Kennedy, space, center
NASA/KSC · 839×1280

Artemis I Terminal Count Launch Simulation
NASA/Kim Shiflett · 1280×853

Nicole Mann's Launch and Entry Suit
SpaceX · 1280×853
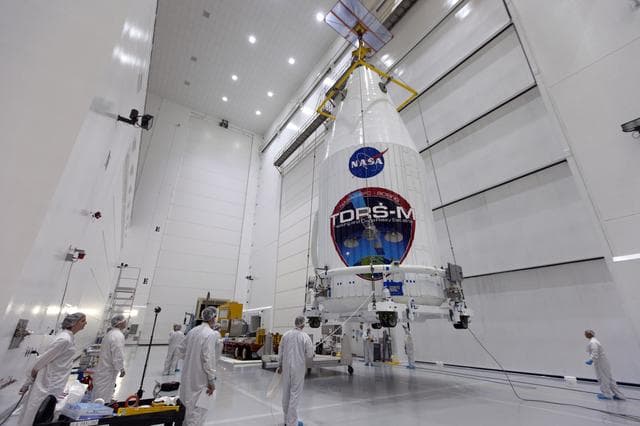
TDRS-M Spacecraft Lift to Transport Vehicle
NASA/Kim Shiflett · 1280×853

Artemis II Joint Cryogenic and Terminal Count Launch Simulation
NASA/Ben Smegelsky · 1280×853

Pegasus ICON Solar Array Deployment Test
NASA/Randy Beaudoin · 1280×853
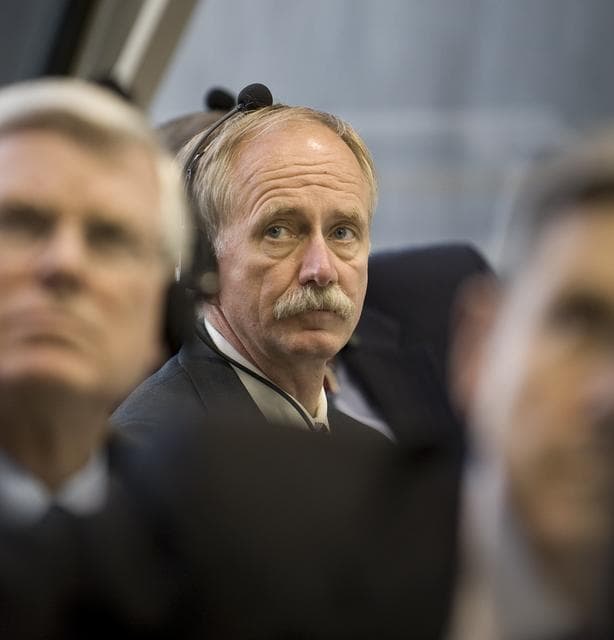
STS-127 Firing Room
NASA/Bill Ingalls · 1228×1280
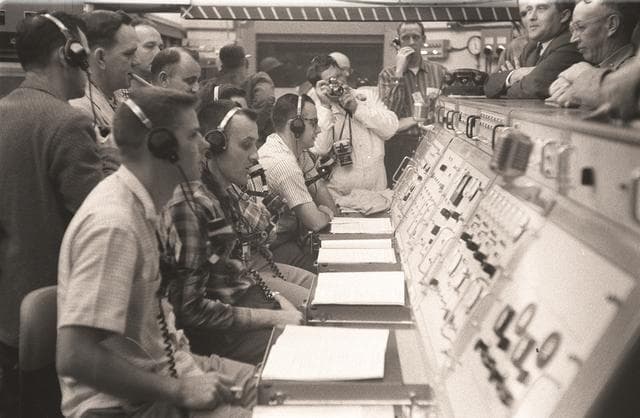
Wernher von Braun
NASA/MSFC · 1280×837

NASA Launch Control Center renovated control room
Kim Shiflett · 6720×4480

Artemis II Terminal Count Simulation
NASA/Glenn Benson · 853×1280
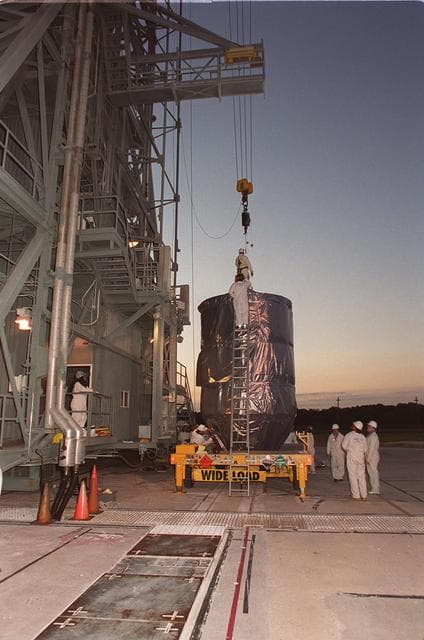
Sunrise, launch, cape
NASA/KSC · 848×1280
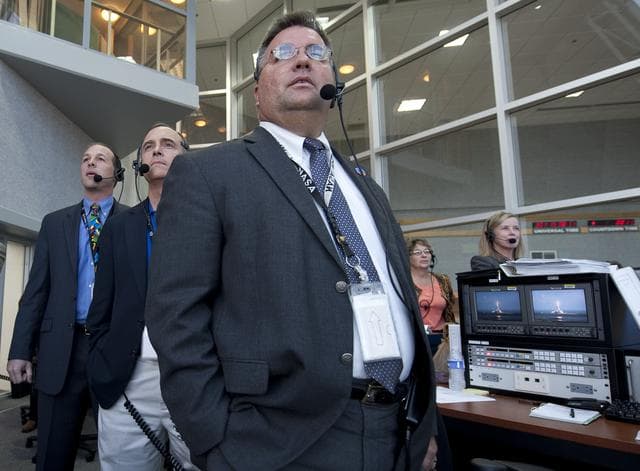
ARES I-X Launch
NASA/Bill Ingalls · 1280×942

EM-1 Countdown Simulation with Charlie Blackwell-Thompson
NASA/Cory Huston · 1280×853
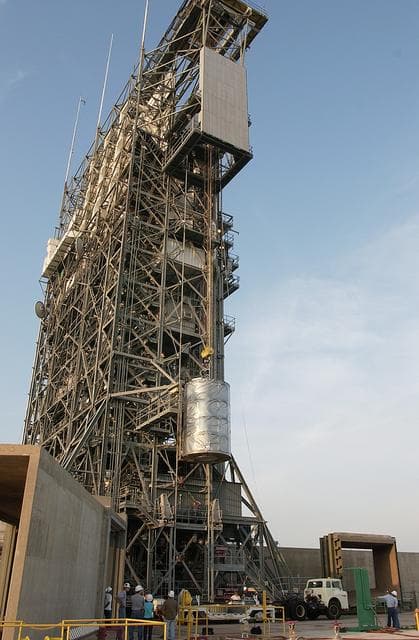
Kennedy, space, center
NASA/KSC · 839×1280

Artemis I Terminal Count Launch Simulation
NASA/Kim Shiflett · 1280×853
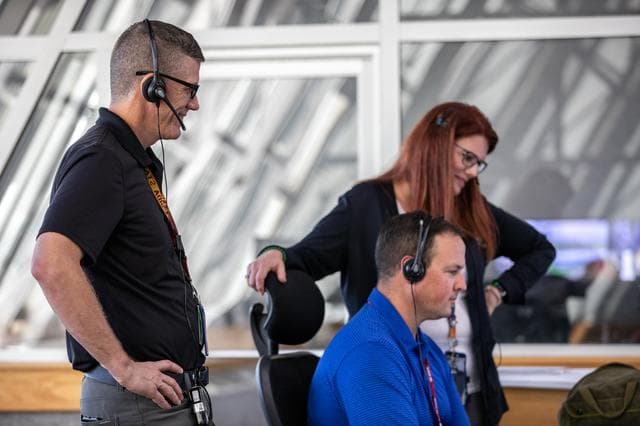
Artemis I Cryogenic Propellant Tanking Test
NASA/Kim Shiflett · 1280×853
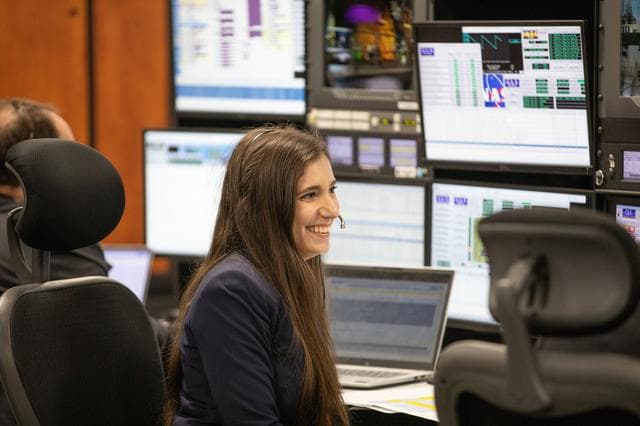
Artemis II 23rd Cryo Simulation and 24th Terminal Count Simulation
NASA/Kim Shiflett · 1280×853

TDRS-M Spacecraft Lift to Transport Vehicle
NASA/Kim Shiflett · 1280×853
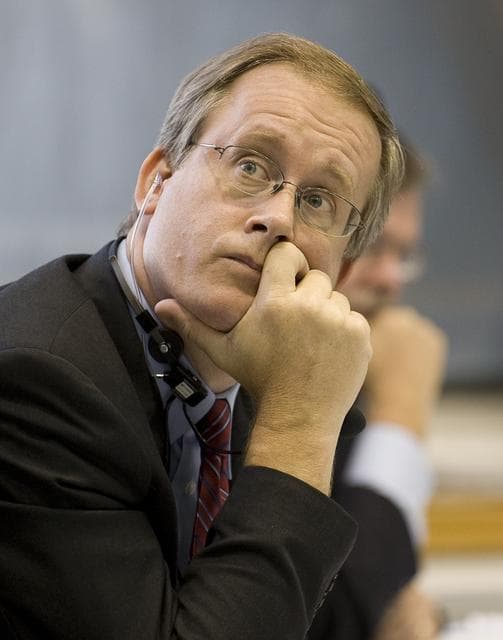
STS-127 Firing Room
NASA/Bill Ingalls · 1007×1280
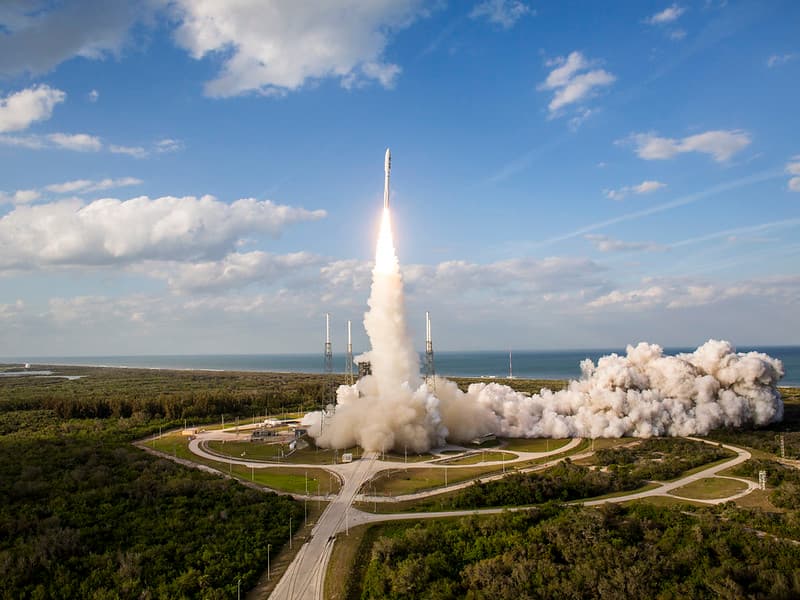
GOES-S Satellite Lifts Off
NOAASatellites · 1024×768

Artemis I Terminal Count Launch Simulation
NASA/Kim Shiflett · 853×1280

Artemis II Terminal Count Simulation
NASA/Ben Smegelsky · 1280×853

Pegasus ICON Solar Array Deployment Test
USAF 30 SCS/Pedro Carrillo · 1280×854
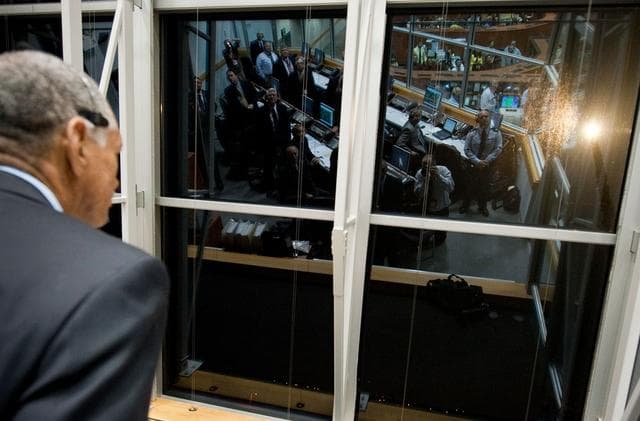
STS-131 Discovery Launch
NASA/Bill Ingalls · 1280×843

Artemis II Terminal Count Simulation
NASA/Glenn Benson · 1280×853
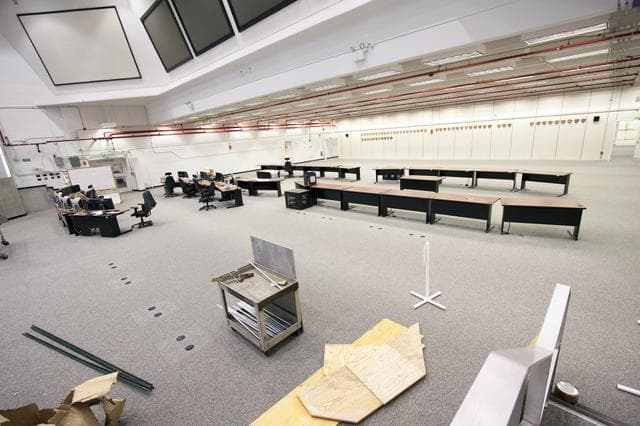
Lcc, launch, control
NASA/KSC · 1280×853

Artemis II 23rd Cryo Simulation and 24th Terminal Count Simulation
NASA/Kim Shiflett · 853×1280

TDRS-M Spacecraft Lift to Transport Vehicle
NASA/Kim Shiflett · 1280×853
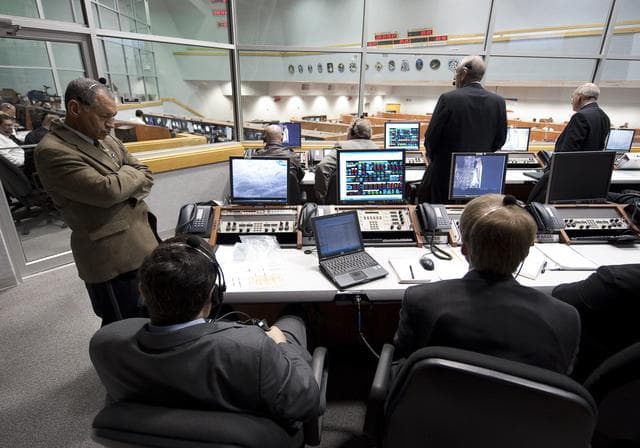
STS-130 Launch Attempt
NASA/Bill Ingalls · 1280×897